Sept. 30, 2019
An economist told me the worst part of her job is turning Excel data into HTML tables, so I built an add-in to fix it.
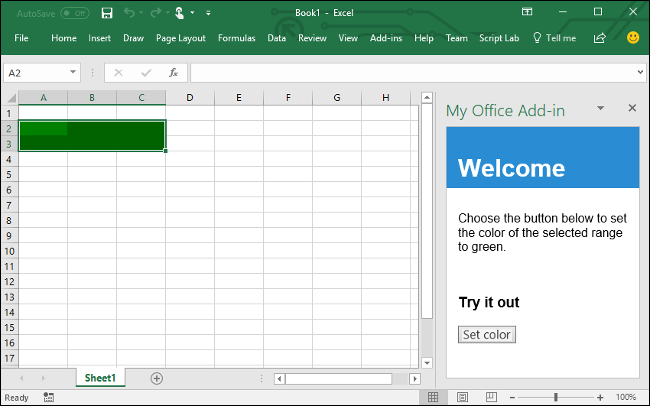
Many software developers probably don't realise that Microsoft Office add-ins these days are simply web pages which run inside of a panel in the UI. I suppose it was to be expected given the trend of the last couple of decades towards web based everything, but it still came as a surprise to me when I had to build one for a job. In my mind Office was still back in the world of COM objects and Delphi and DLLs.
After discovering how easy it is, I decided to do it again for this side project. Here is how I did it.
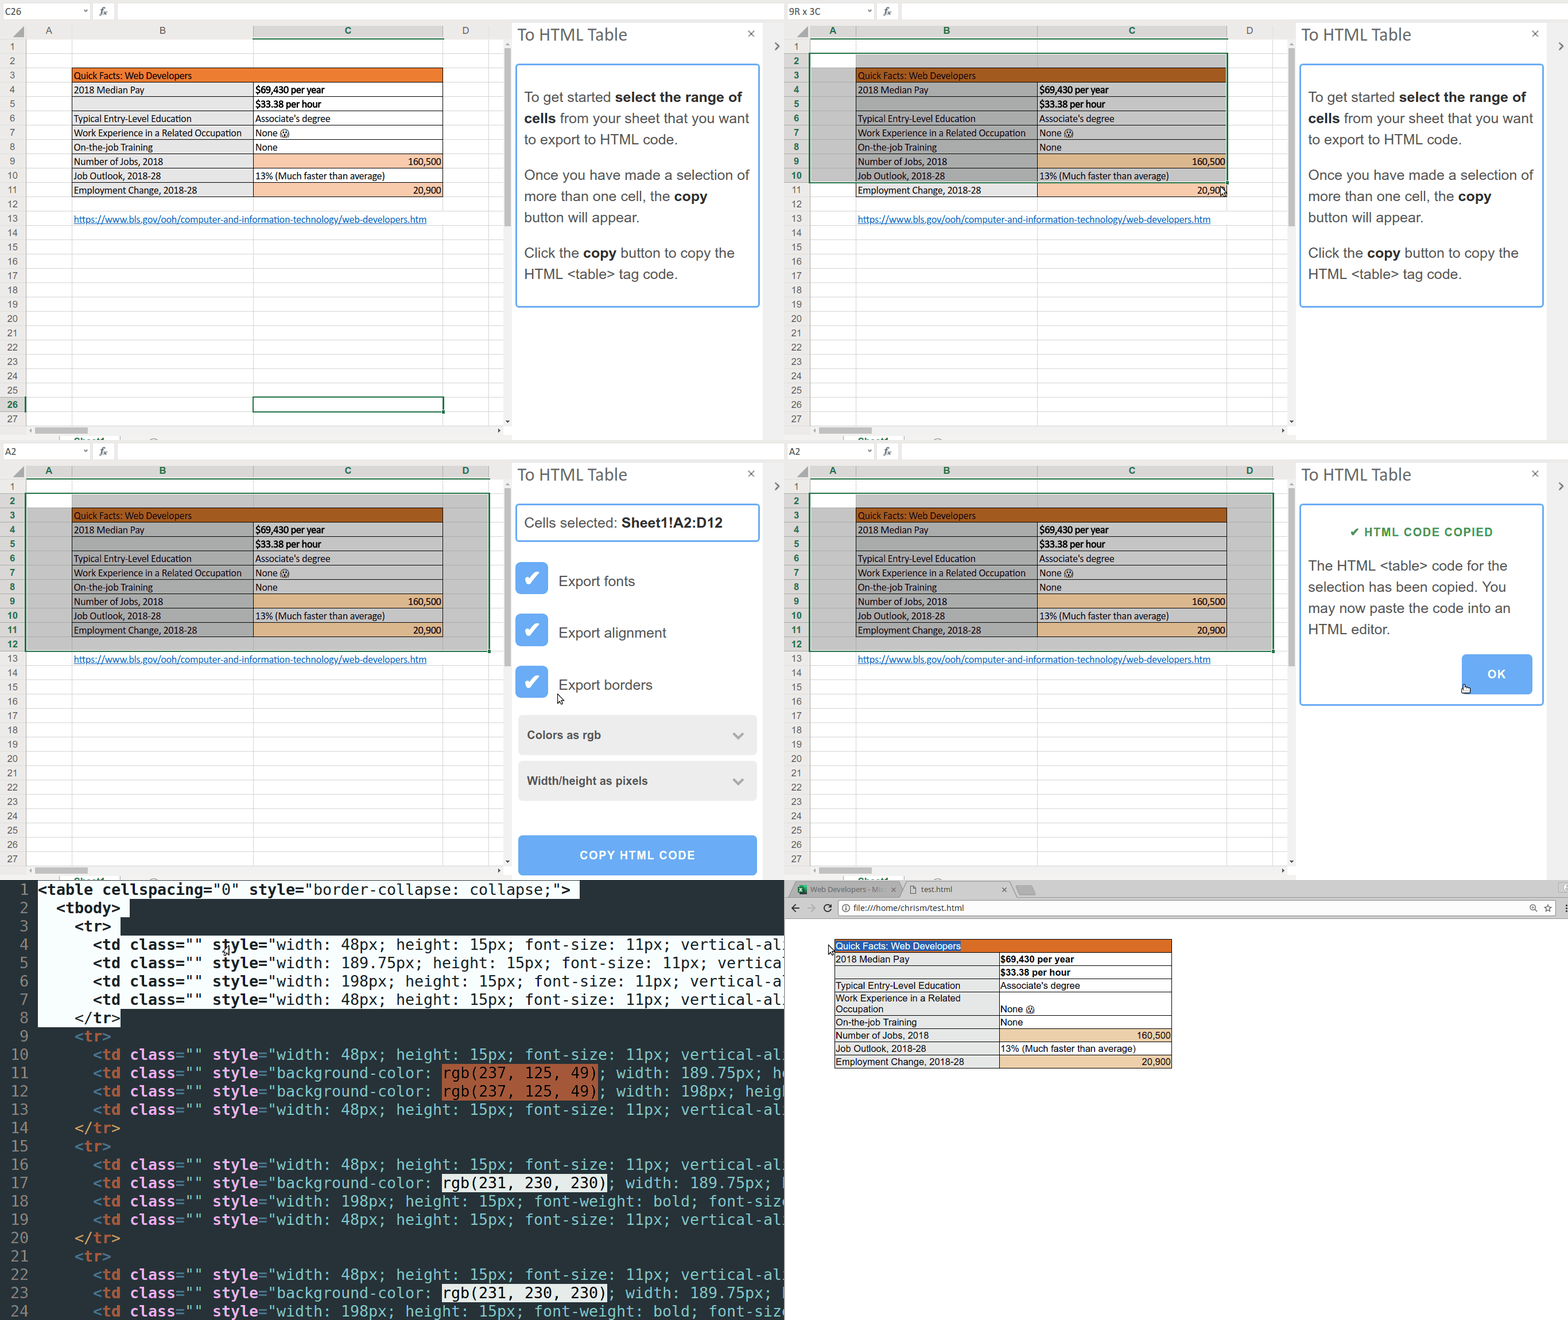
The plugin (whoops, "add-in") I built is called "Excel to HTML table" and does what it says on the tin. You make a selection of cells, click "copy", and you get a clipboard full of the corresponding HTML code that will render those cells. After that you can paste the code into your text editor and use it in a site's HTML.

Microsoft have some nodejs and yeoman projects to help you get up and running but I'm the sort of developer who likes to roll their own and keep things tight, tidy, and tiny. I like to build things from first principles so that I can understand what is going on at as low a level as possible. Here's what I discovered.
The Microsoft Tutorial has a lot of good info in it, but it's geared towards people using either Node + Yeoman or Visual Studio. If you're a text-editor-and-command-line person like me the best way to get started is just to grab the example .html, .css, and .js snippets from the Visual Studio version.
Get a dev server running
Any local HTTPS server will do. The difficult part is it must be HTTPS, even on localhost, or Word/Excel will refuse to load your add-in. My add-in is almost entirely client-side code and so I could get away with a small Python server using the built-in libraries like this:
from http.server import HTTPServer,SimpleHTTPRequestHandler
httpd = HTTPServer(address, SimpleHTTPRequestHandler)
httpd.socket = ssl.wrap_socket(httpd.socket, keyfile='selfsigned.key', certfile='selfsigned.cer', server_side=True)
httpd.serve_forever()
As you can see this looks for the .key and .cer files in the local dir, and you can create those with openssl:
openssl req -x509 -newkey rsa:4096 -keyout selfsigned.key -out selfsigned.cer -days 365 -nodes -subj "/C=US/ST=NY/O=localhost/OU=Localhost"
You can do the same thing in nodejs with express if that's your bag by passing the right options to https.createServer:
const server = https.createServer({
    key: fs.readFileSync('./selfsigned.key'),
    cert: fs.readFileSync('./selfsigned.pem')
}, app).listen(8000)
Before you can load your add-in you should make sure your browser has accepted the self-signed cert or the add-in won't load. Do this by browsing to your localhost:8000 server and bypassing the certificate warnings.
If you're debugging in the native Office app instead of Office Online, you will need to do this in Internet Explorer for it to work as far as I can tell.
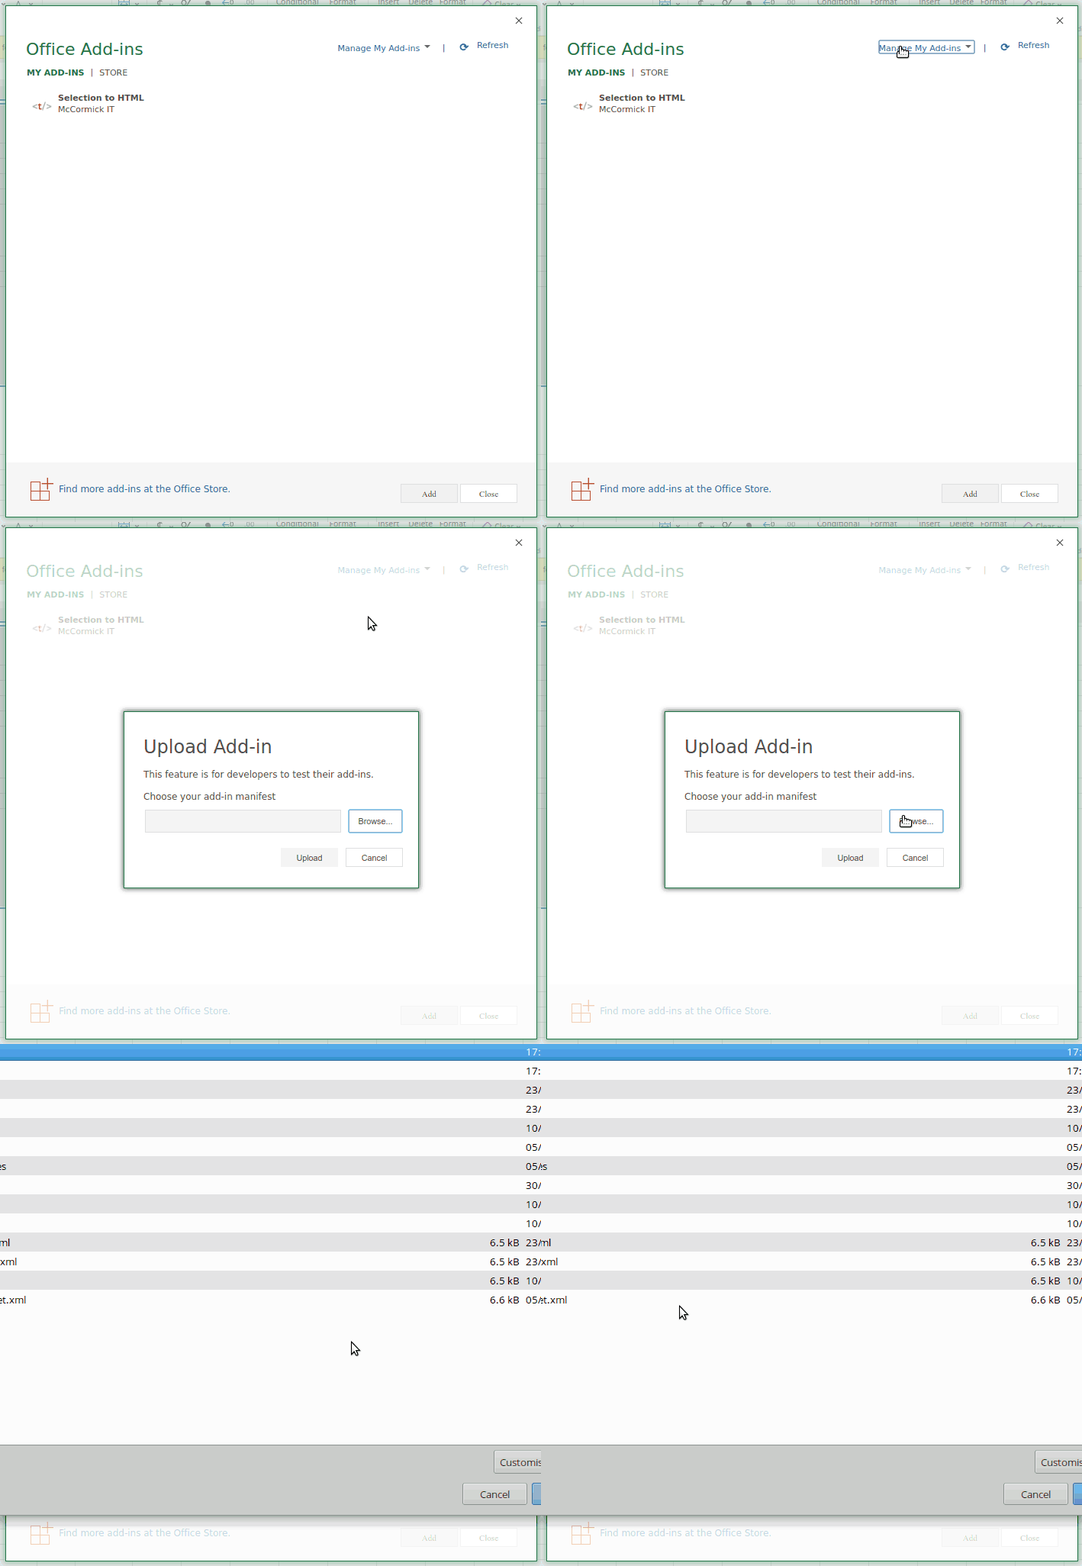
Manifest validation

Office finds out about the URL for your add-in using a "manifest" file. This file is XML and pretty fragile. You need to make sure it complies with the spec. Luckily Microsoft have a tool for verifying the add-in on the command line. Install the npm package "office-toolbox": "0.2.1" and then you can run a command like this:
./node_modules/.bin/office-toolbox validate -m ./path/to/manifest.xml
This will report most issues that come up.
In the manifest you can use https://localhost:8000/Home.html and it will point to your local dev server when running.
The Code
The code itself is basically web code. You can use libraries like React and jQuery in your UI. The exception of course is when calling the native APIs. These are exposed through an interface like Excel.run(...) and make heavy use of promises for async. You will often find yourself doing context.load() and then waiting for the promise to resolve before doing the next thing in the document. The API documentation is super useful for figuring out what is possible and how to do it.
Debugging
When it comes to iterating on your code and debugging, by far the easiest way is to use Office Online. This is because it is already in the web browser so debugging works the same way as you are used to - the add-in is just an iframe.
I was even able to do my dev & debugging right at home in Firefox on GNU/Linux!
At some point you will want to debug using an actual copy of Office running on Windows. I used Office 2016 on my wife's computer.
If you are not a Windows developer the following tip will save you a lot of time when it comes to debugging native. It's called "F12 Developer Tools" and it's buried deep inside a Windows subdirectory in C:\Windows\System32\F12\.
What this tool does is attach a "web console" type of debugger to your Office add-in instance running inside Office. You can do stuff like console.log and also see JavaScript errors which are thrown.
Ready to roll

Once you've got those pieces in place you should have a basic add-in up and running. After that it's all about referencing the docs to figure out how to do the thing you want your add-in to do.
Submit
Finally when you're ready to ship, you submit your manifest.xml to the App Source "seller dashboard". Expect to wait a few days for the validation team to get back to you, and to have to fix things. This process was useful as they see the software with a fresh pair of eyes and give actionable feedback.
LISP madness
So finally I should mention my LISP obsession. I actually wrote all the code for this plugin in a LISP called Wisp. It's a Clojure-like that compiles to JavaScript and seems quite similar to ClojureScript but with three core differences:
- It lacks almost all of the great features & tooling of ClojureScript.
- It is closer to being "JavaScript with LISP syntax".
- It compiles down very small if you know what you are doing. How small? My final compiled .js bundle for this add-in is just
8.2k non-gzipped.
So that's about it. I hope you got something out of this article on building Microsoft Office plugins using web tech.
Now back to open source dev for me. :)


